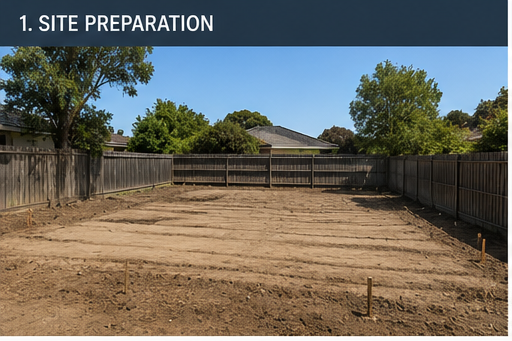
1. Site Preparation
The project begins with clearing and levelling the site to prepare for construction. Surveying and set-out are completed to ensure the granny flat is positioned correctly and complies with council requirements. Underground services and drainage points are also prepared at this stage.
1
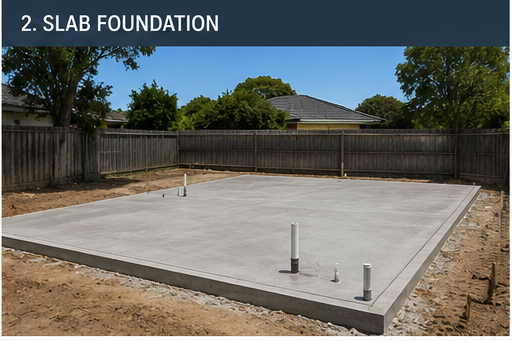
2. Slab Foundation
A reinforced concrete slab is poured to create the structural base of the granny flat. Plumbing rough-ins and service penetrations are installed before the concrete is finished, providing a strong and stable foundation for the brick construction.
2
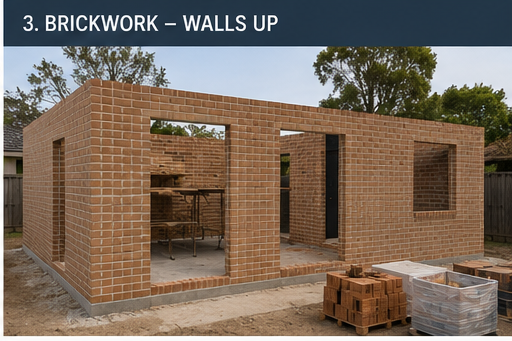
3. Brickwork – Walls Up
The bricklaying stage brings the granny flat to life as external and internal structural walls are built. Doorways and window openings are formed, and the overall shape of the home becomes clearly visible.
3
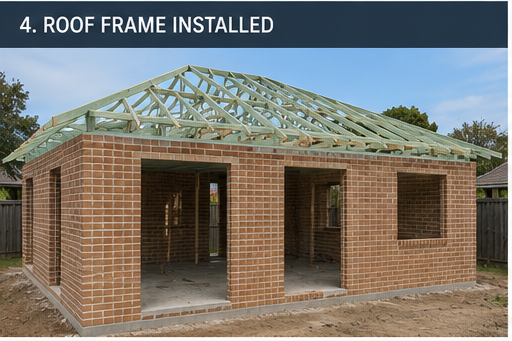
4. Roof Frame Installed
Roof carpenters install the timber roof frame, securing trusses and structural supports. This stage provides the framework for the roofing system and prepares the building for weather protection.
4
5. Roof Tiled
Roof tiles are installed to fully enclose the structure and protect it from the elements. Gutters, fascia and roof flashings are added, giving the granny flat its finished roofline and improving water drainage.
15
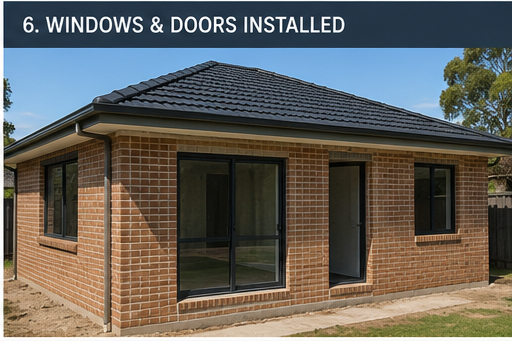
6. Windows & Doors Installed
External windows and doors are fitted, allowing the building to become lock-up ready. This stage improves security and weather resistance while also defining the natural light and ventilation throughout the home.
6
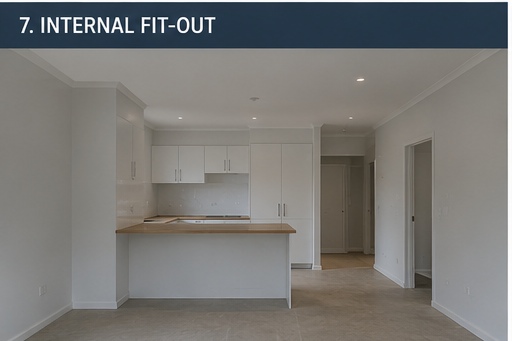
7. Internal Fit-Out
The interior construction phase includes plasterboard installation, cabinetry, painting, flooring, electrical fit-offs and kitchen installation. Rooms begin to take shape and the granny flat starts to feel like a completed home.
7
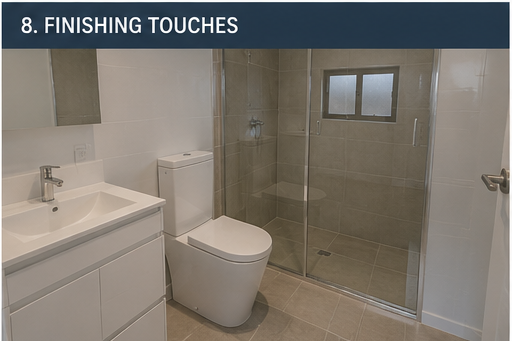
8. Finishing Touches
Final detailing is completed, including bathroom fixtures, tapware, lighting, mirrors, trims and final paint touch-ups. External landscaping and pathways may also be added to complete the presentation.
8
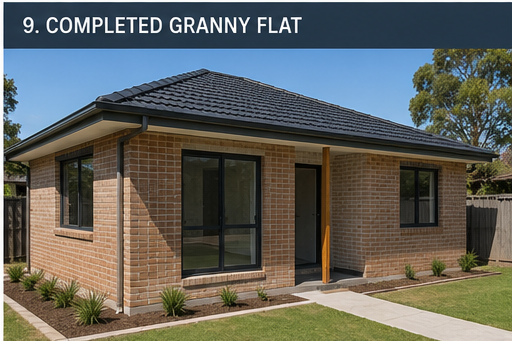
9. Completed Granny Flat
The fully completed brick granny flat is now ready for handover. With modern finishes, durable brick construction and a functional layout, the finished home provides comfortable additional living space and long-term value.
9